TABLE OF CONTENTS
General
This article provides a step-by-step instructions and practical tips on how to transition Microsoft Word documents into the Yonder format.
By importing Word documents into the Yonder smart document format, you can efficiently work with your existing content within the Yonder ecosystem and use all features such as compliance tags, notifications etc..
Prerequisites
- Word document saved as a .docx file (convert the document if needed).
- Access to the Admin Console
How to prepare your Word document
- Use a clear and consistent heading structure.
- Ensure headings are properly defined in Word as each heading will be converted into a Yonder module.
- The document outline is created automatically based on the headings.
- Following these steps will help ensure a clean and structured import of your Word documents into Yonder.
Import a Word document
Follow these step-by-step instructions to complete the process successfully.
Create the document
- Open the Admin Console and create a new document
- Click “New Document”
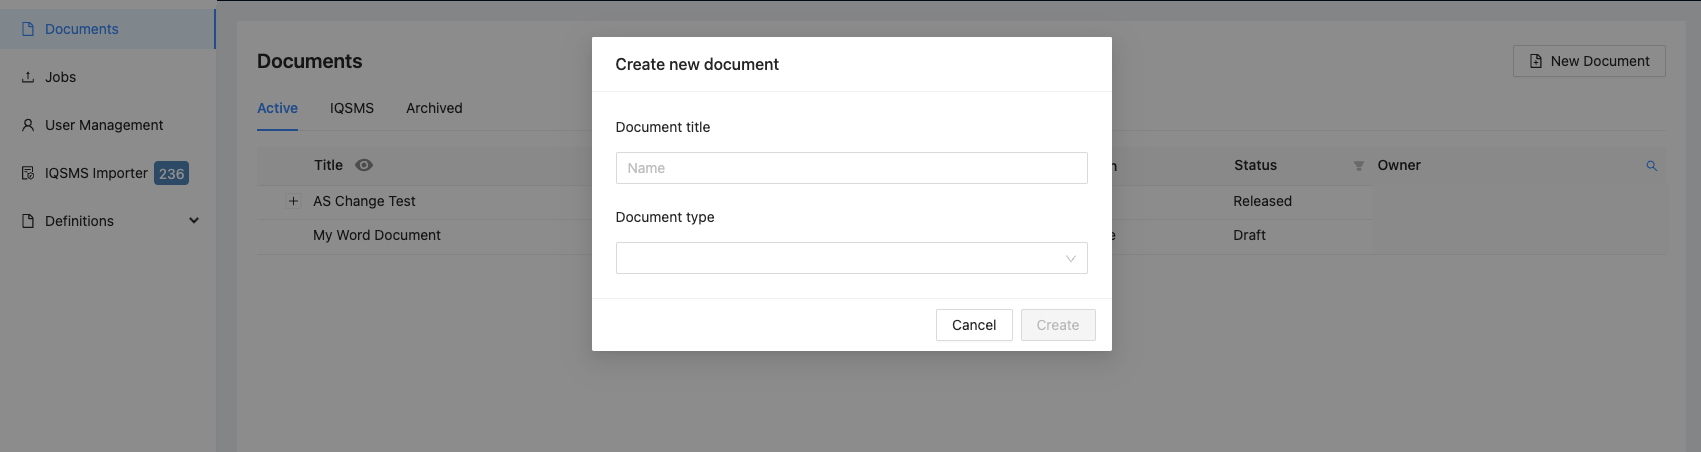
- Enter the document title
- Select the appropriate document type
- Click “Publish” and the document meta data will be created.
Note: If necessary, the metadata information may be amended or corrected.
Import the Word document
- Click “Import Document”

- Select “Microsoft Word” as the import format
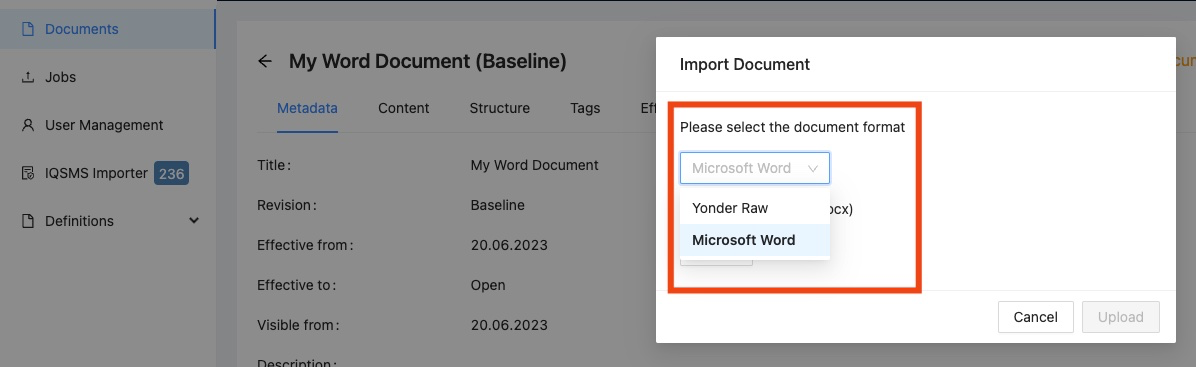
- Choose the .docx file you want to import
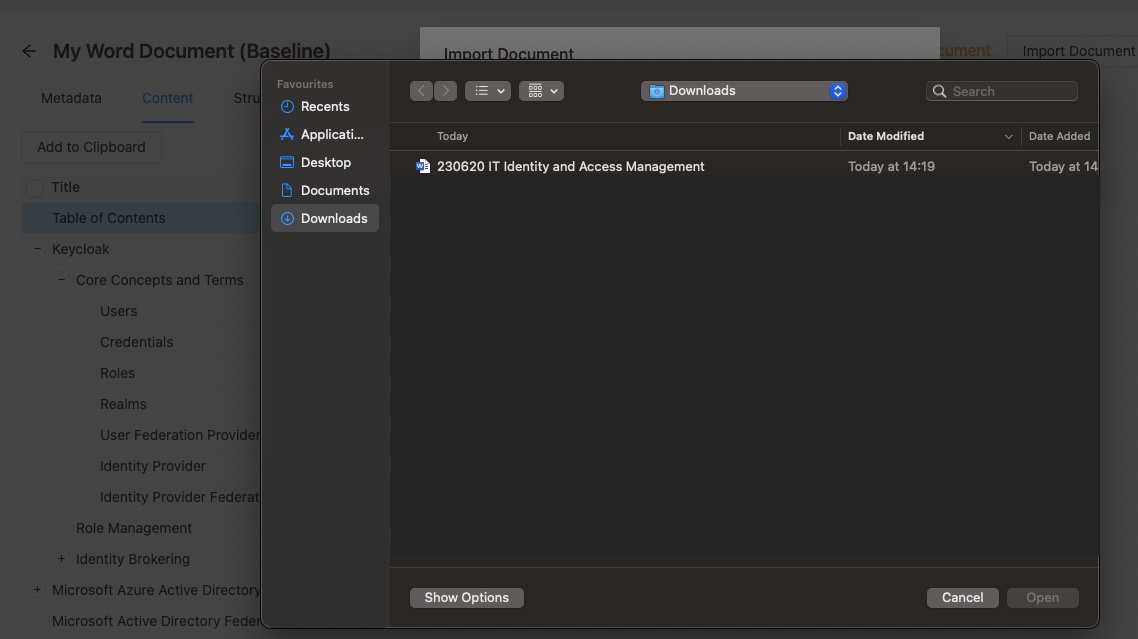
- Upload the file to start the conversion
Review the converted document
- Verify that the content and structure were imported correctly
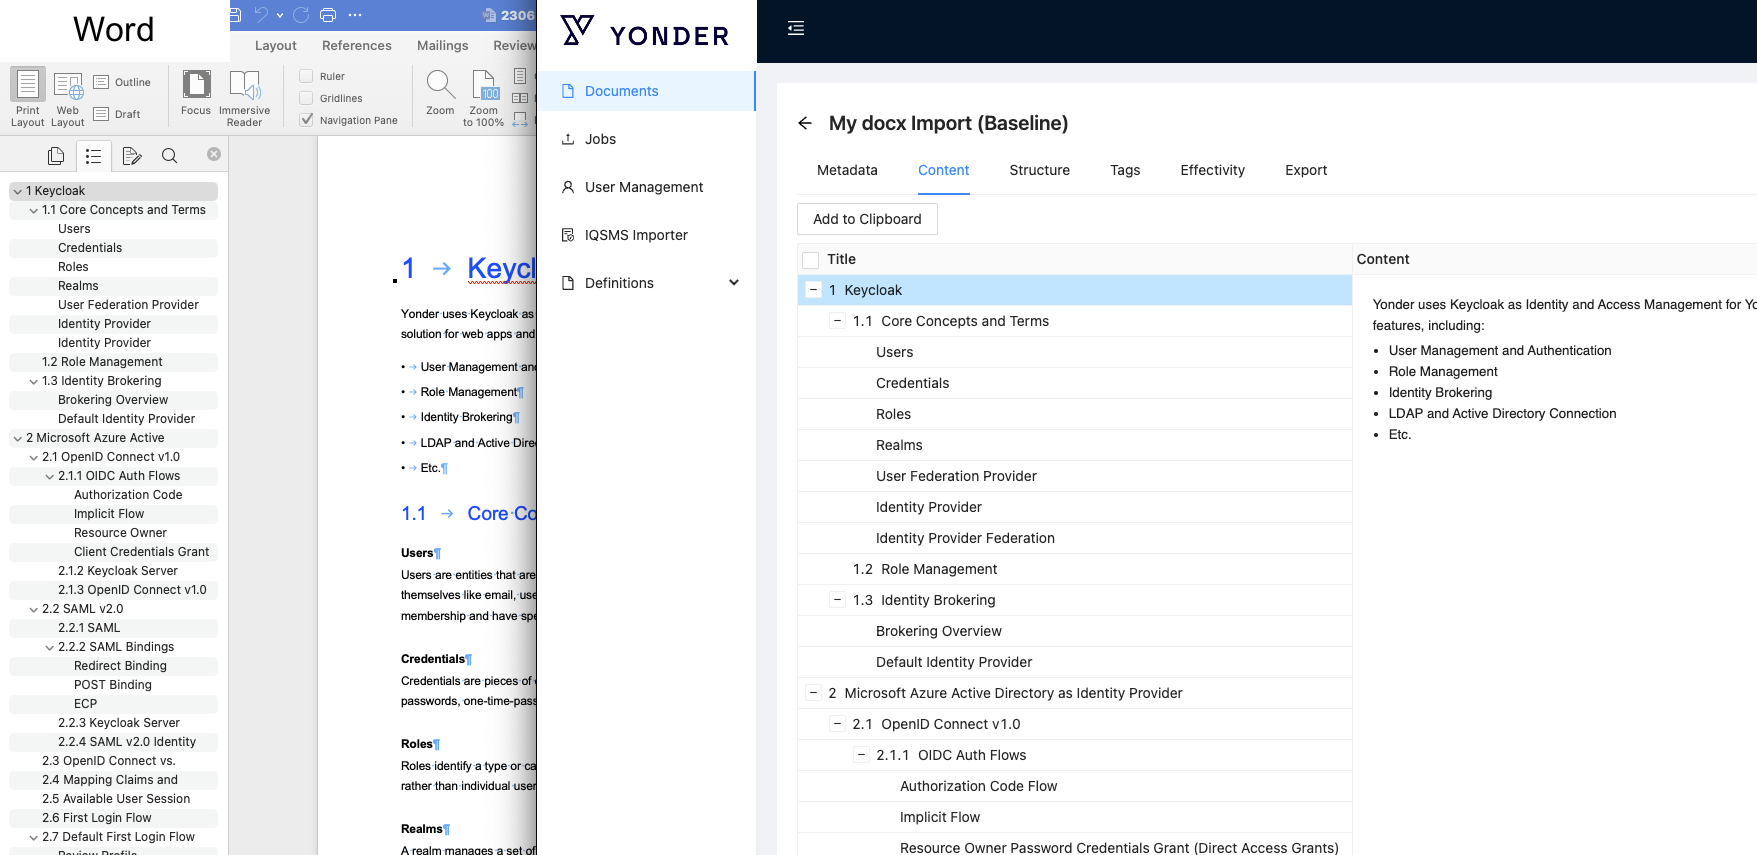
- If the result is not satisfactory, update the Word document and re-import it
- Repeat the import process as needed before continuing the workflow by clicking “Continue”
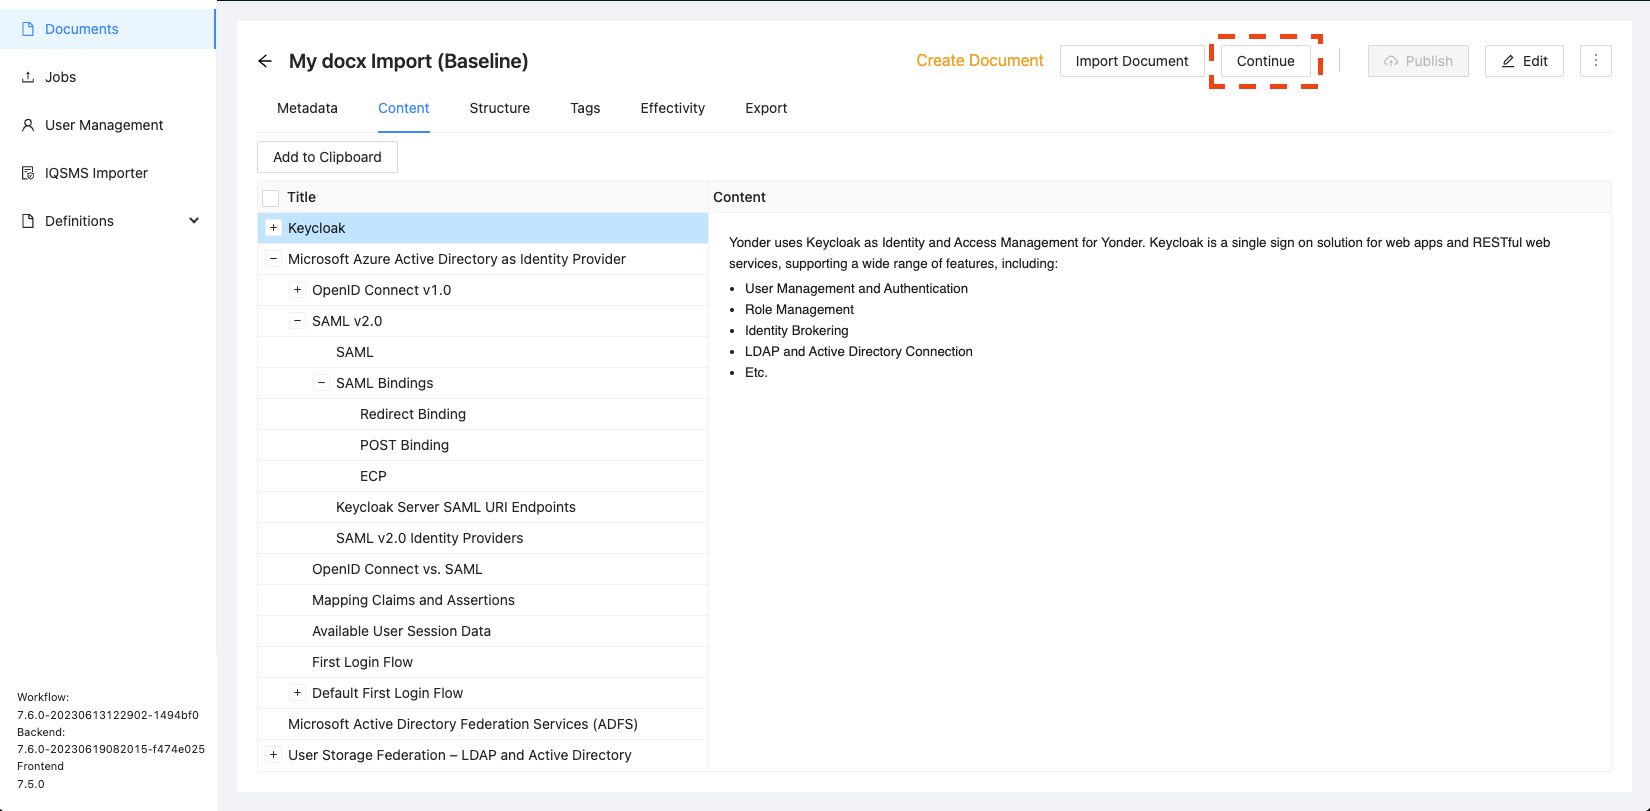
The document is now successfully transferred.
Was this article helpful?
That’s Great!
Thank you for your feedback
Sorry! We couldn't be helpful
Thank you for your feedback
Feedback sent
We appreciate your effort and will try to fix the article